Troubleshoot
First, make sure you are following these tips:
- Only use Google Chrome when accessing GivePulse
- If you are getting an error message or things are not loading, try clearing your cookies, close your browser, and try again
- If you are having trouble navigating GivePulse in the New View, try switching to Classic View (see below)
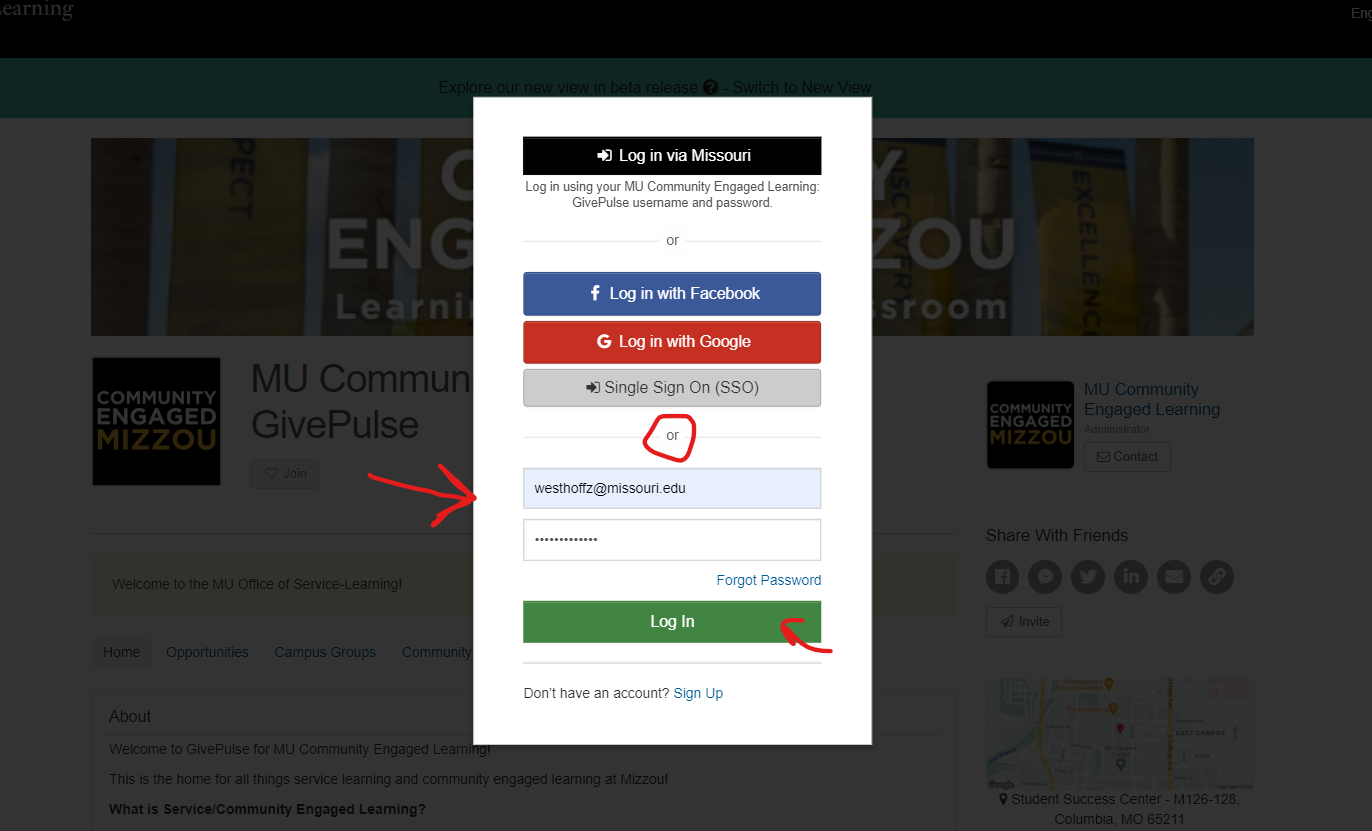
- Make sure you are logging in with your email and password you created. Do not log in via Missouri, Facebook, Google, or SSO unless you specifically remember creating your account that way (you likely did not, so please just use the 2 boxes)
Switch View
The information below is provided using the “Classic” view of GivePulse. If you are seeing a different view of GivePulse called the “New View”, we would recommend changing it so you can follow the steps below without confusion.
- Log In to GivePulse
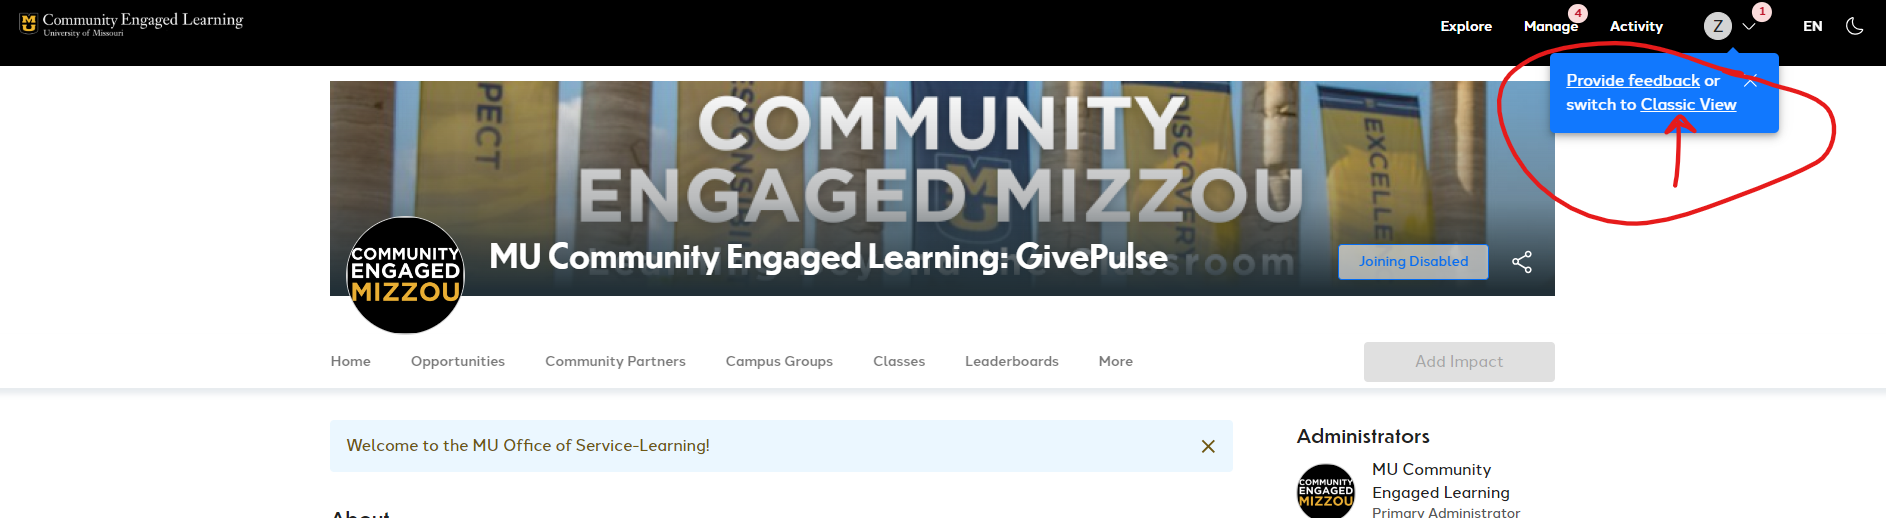
- You will see one of two versions. If what you are seeing does NOT match the screenshots below, you are in new view. Follow these instructions to switch
- When you log in, you may have a blue message pop up under your initial that says “switch to classic”. Click that and you will switch
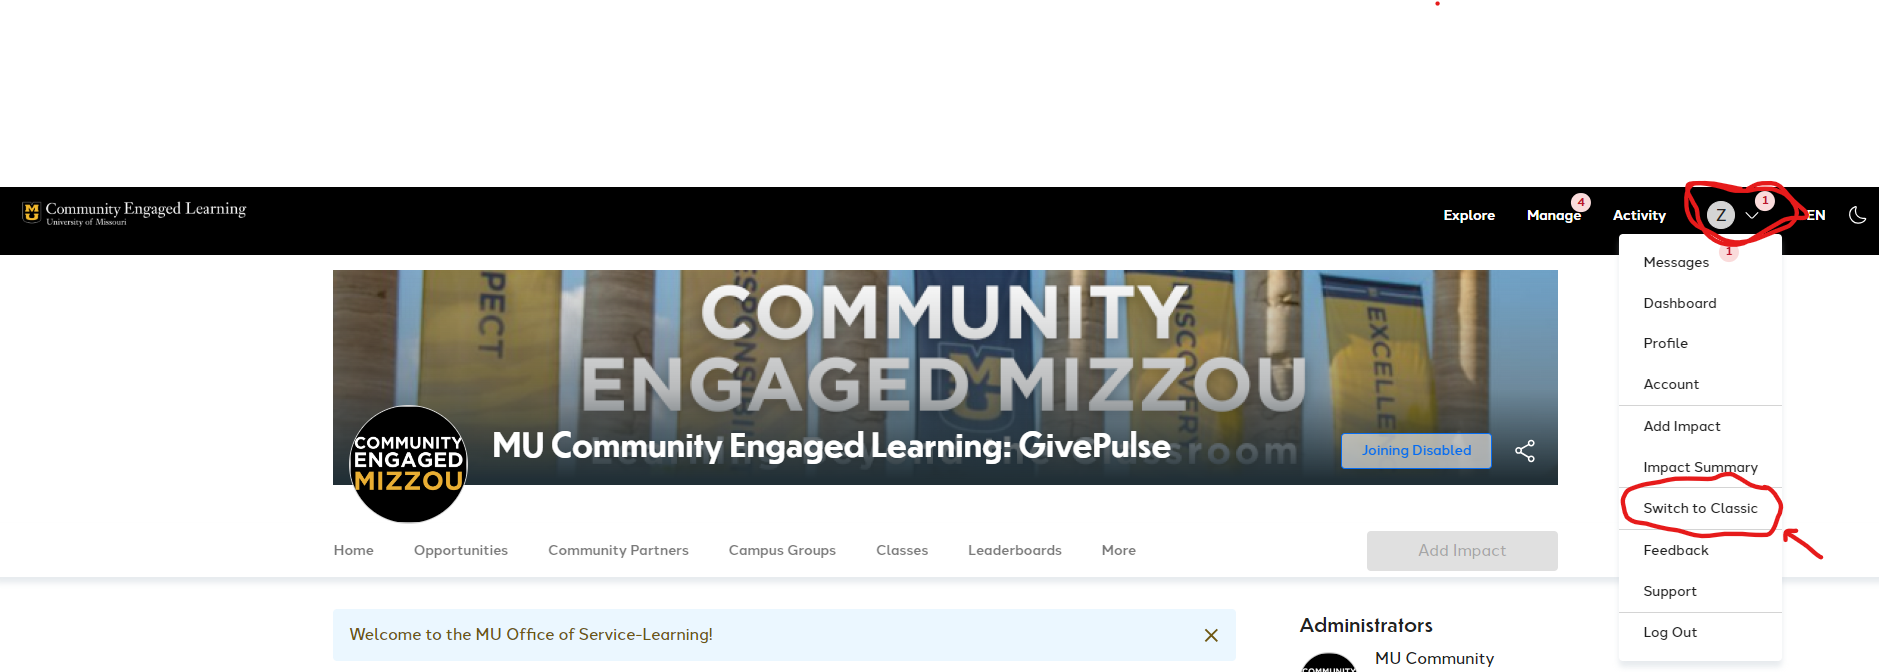
- If you do not see that, select your initial in the top right hand corner in the black bar. In the drop down, “switch to classic” will be in the middle of the list
or,
Logging In
The information below is
- You will log in with an email and password. You should have this information from when you claimed your GivePulse account via email.
- You may have to select “view more options” under the grey box, where the “or” is circled below
Viewing Registered Students
- Log in to GivePulse using the account information you created
- You will log in with an email and password. You may have to select “view more options” under the grey box, where the “or” is circled below
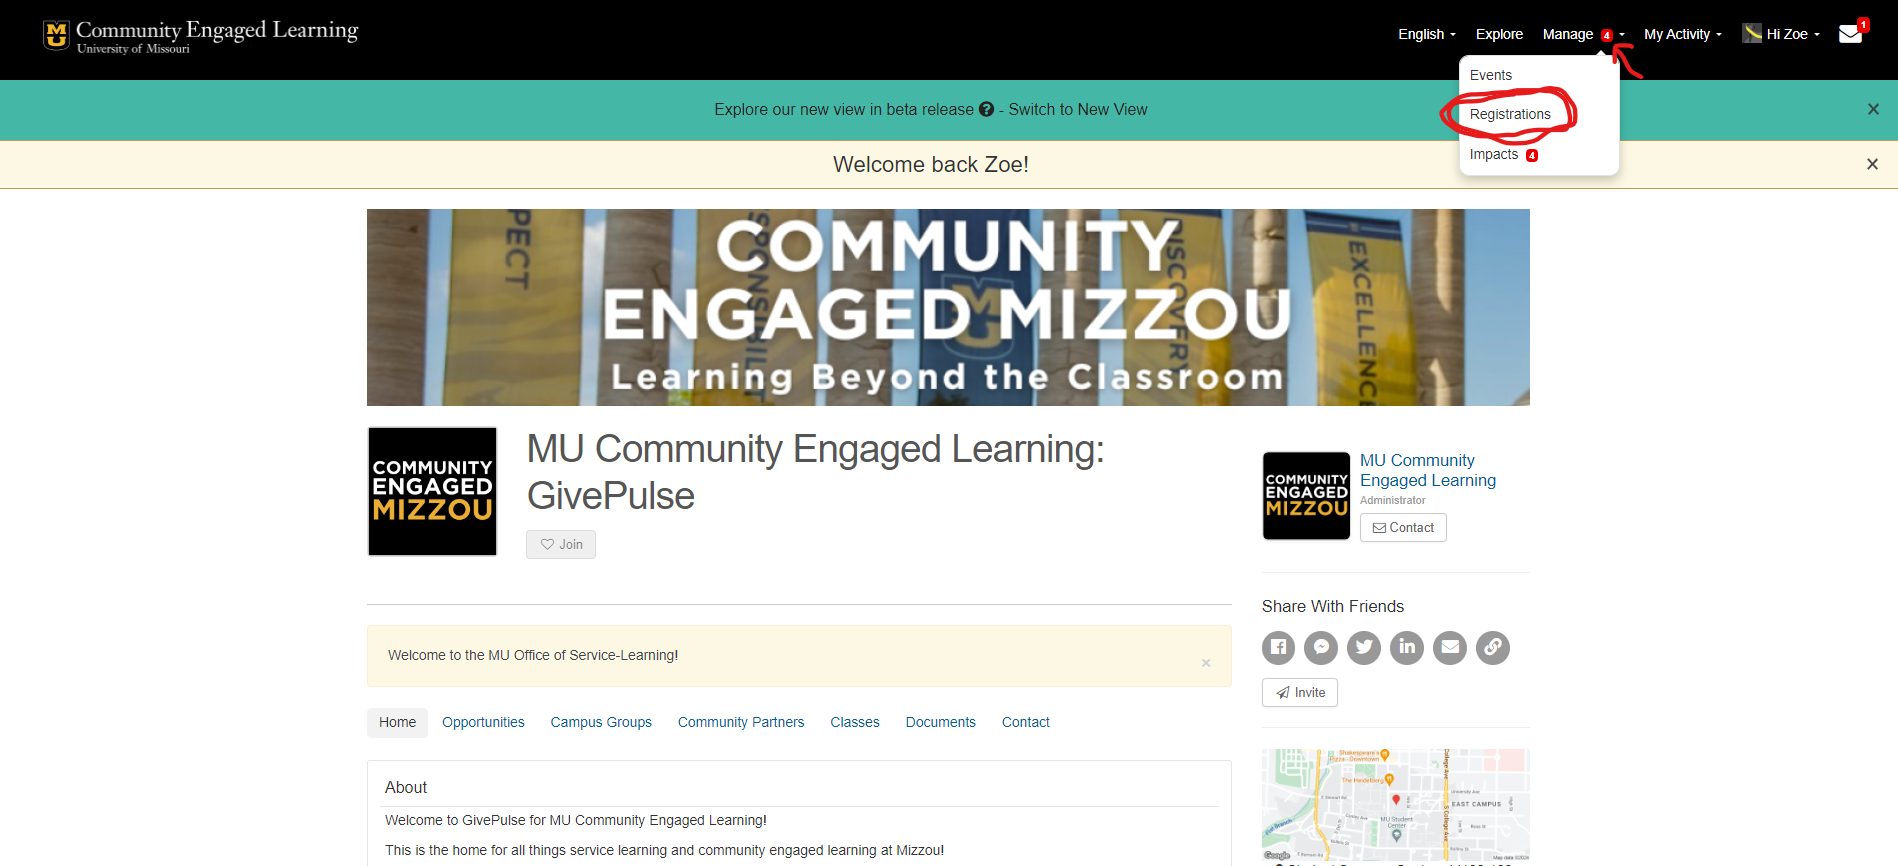
2. Once you are logged in, your home page should look something like this (see below).
- From there, you can select “Manage” in the top black bar on the right hand side.
- In the drop down menu, select “Registrations”
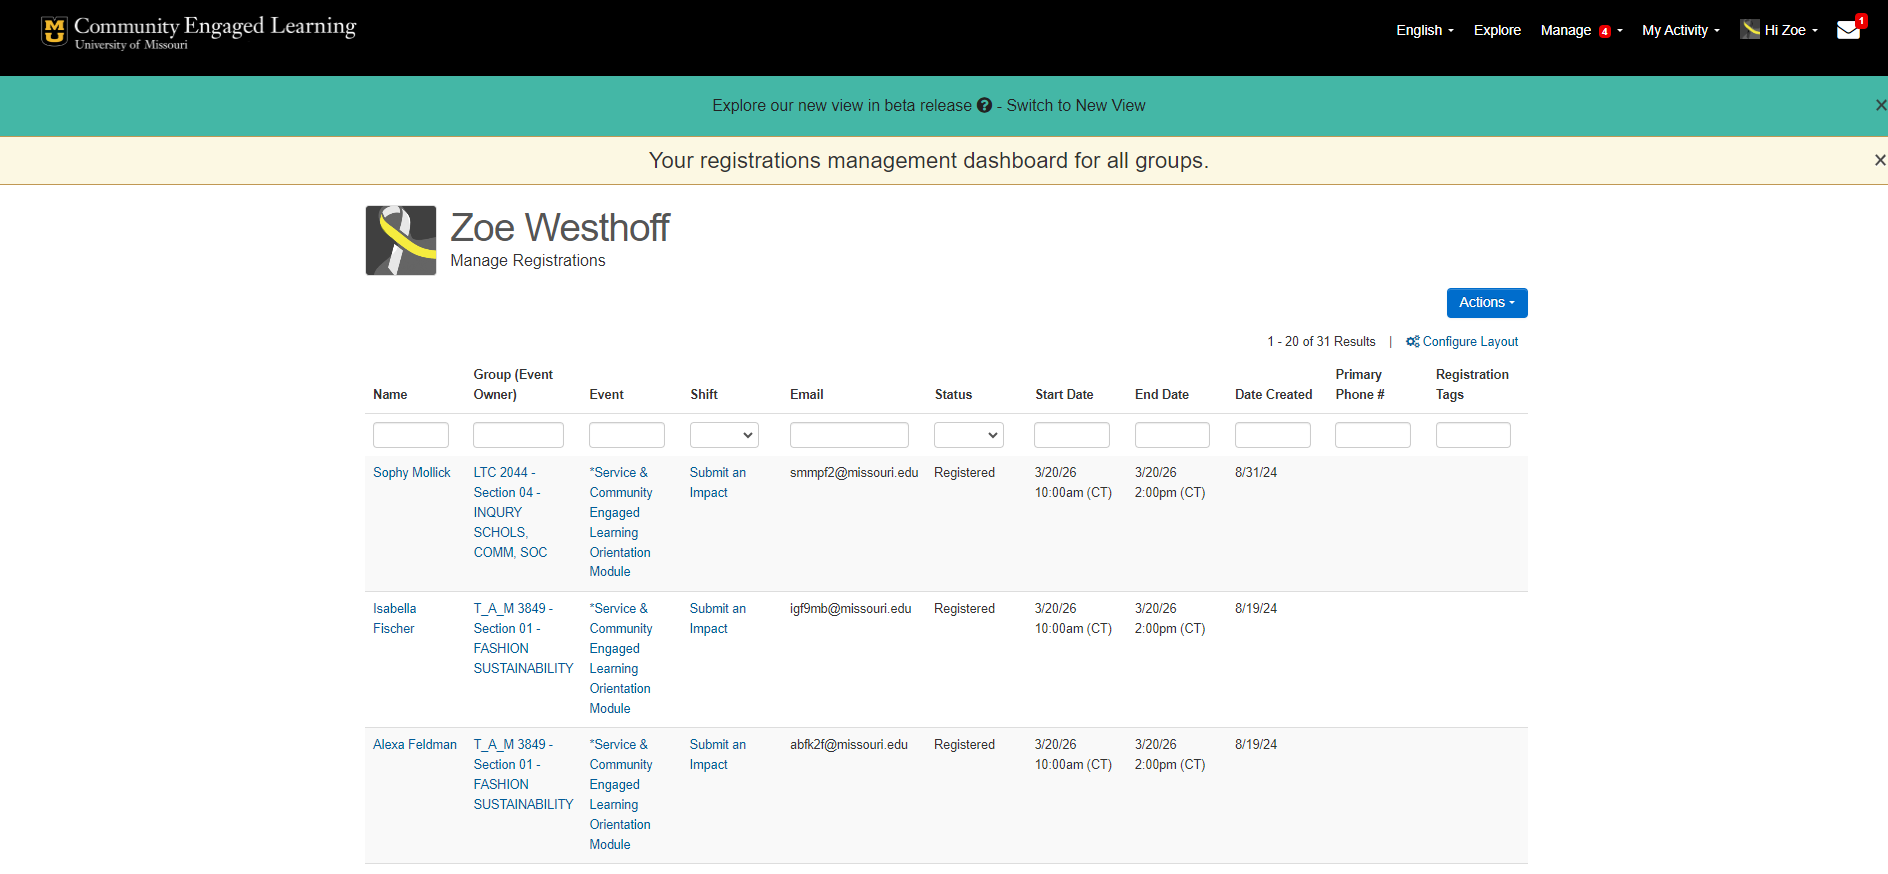
3. Here you can view the list of students that are registered for your opportunity this semester. You can click on the column titles (Name, Group, Event, Email, Status, Start Date, End Date, Date Created) to sort the columns.
- Please pay attention to the Date Created column rather than the Start Date and End Date columns.
- Ensure that you have sorted the Status column by Registered. If it says canceled, the student will longer be serving with you.
- You can view the student’s Name, Course, Event, and Email here
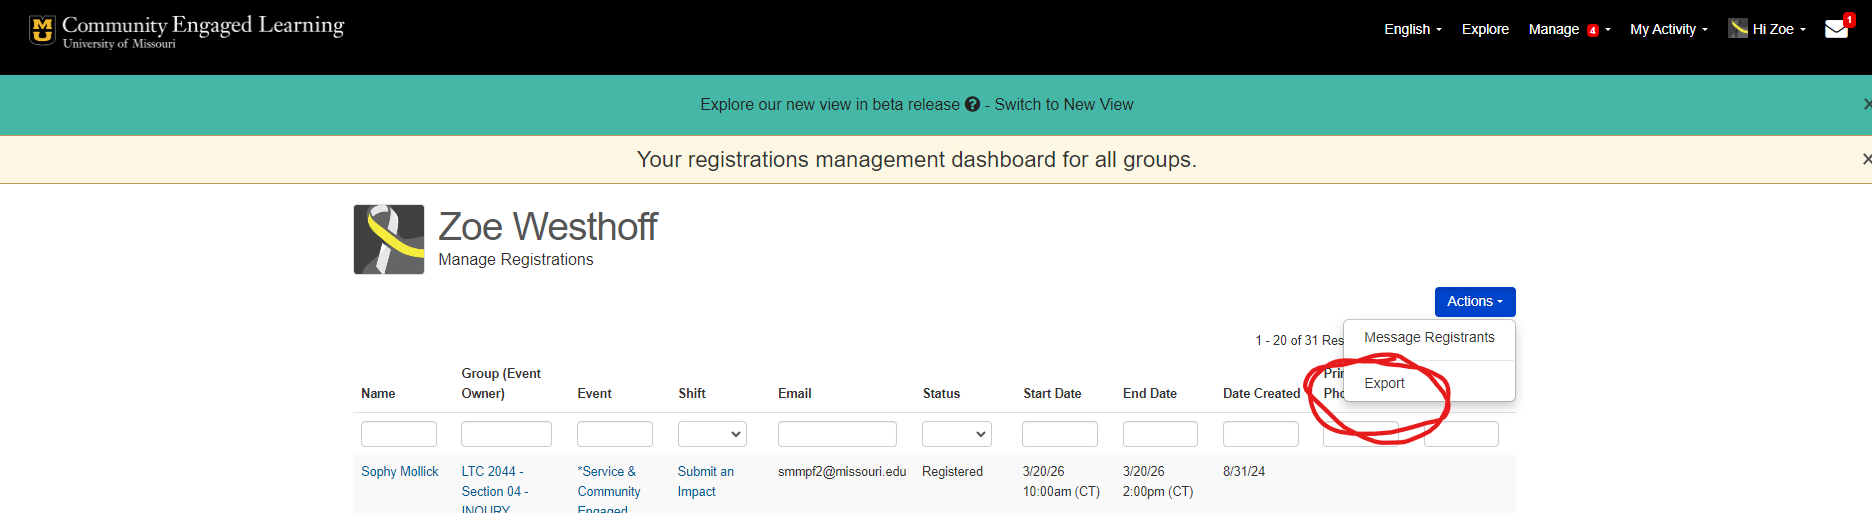
4. If you would like a printable version or would like to view this information in Excel rather than GivePulse, you can select the blue “Actions” button and click “Export”.
You can choose visible columns or all data. Once downloaded, open the sheet in excel or Google Sheets and you will have the information. Keep in mind that the registrations are likely to change in GivePulse up until the registration deadline.
Access an Event Template through Registrations
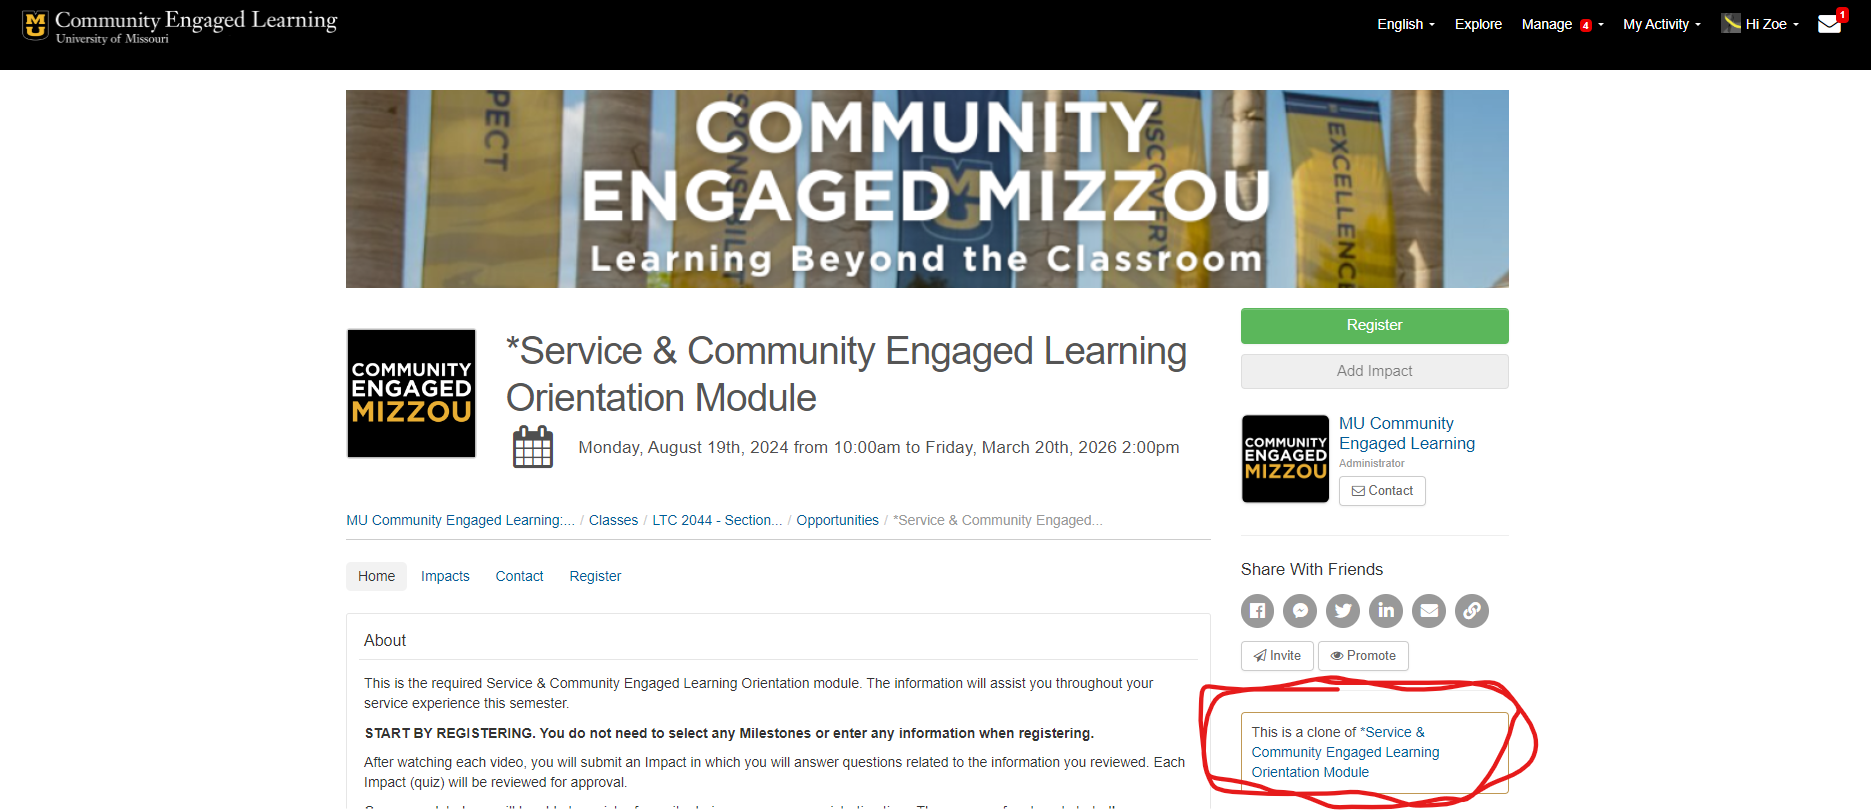
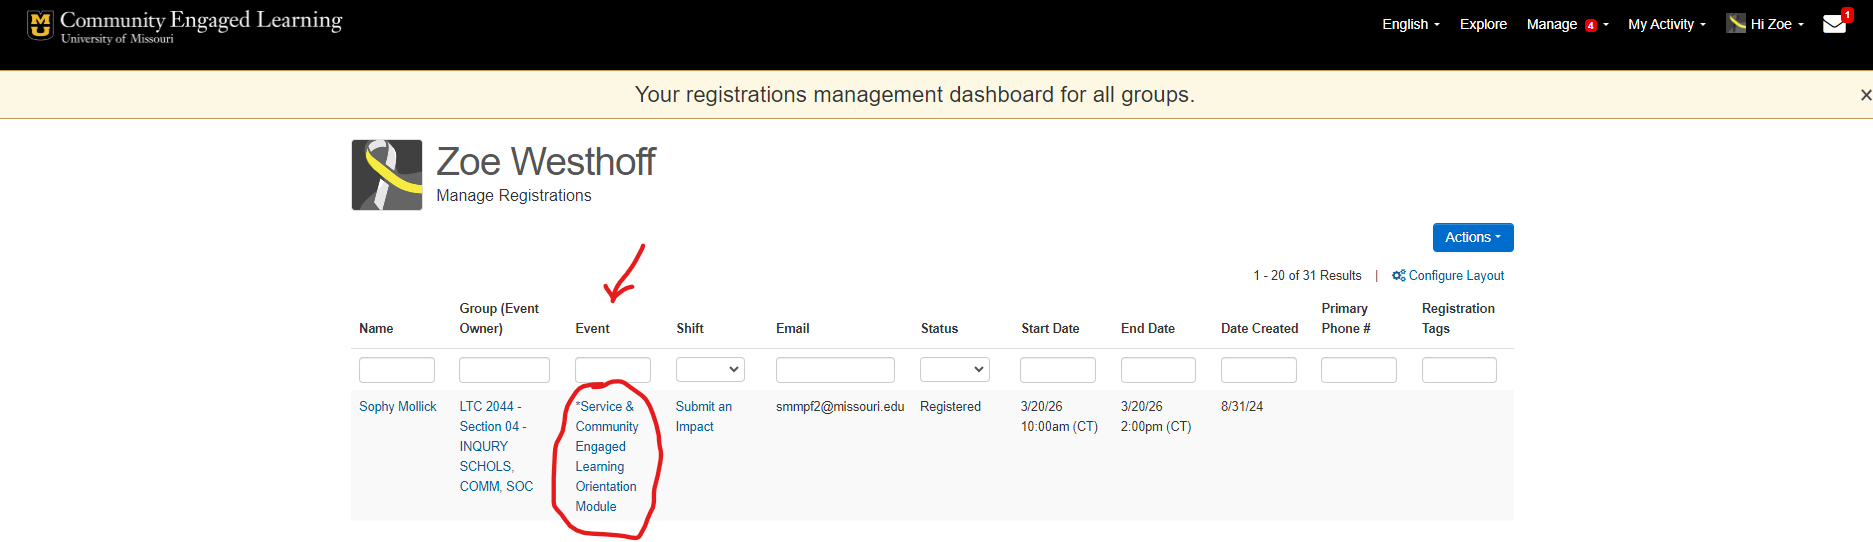
- You can also access your private “Event” through this page by clicking on the event the student has registered for. This will take you to the specific copy of that event for the course that the student is in.
2. Once you have been taken to that specific clone or copy of that event, you will want to go to the original one to edit or view, also known as the “Template”
3. Click on the link on the right hand side of the page where it says “This is a clone of” and you will be taken to the Template event. You can view or edit there.
4. DO NOT try editing a clone. It will not work and will only update for one course. You must edit the “Template” only.